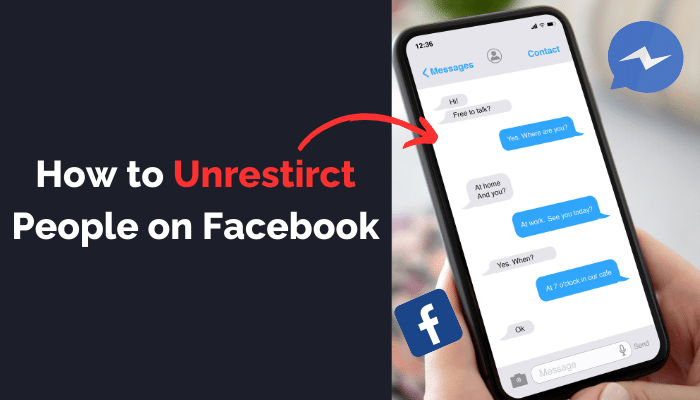
Navigating social dynamics on Facebook can sometimes require nuanced control over your privacy settings and how you interact with others. Whether it’s adjusting what certain friends can see or managing your online presence more discreetly, Facebook offers a range of tools designed to tailor your social experience to your comfort level.
Among these tools is the ability to restrict users, which lets you limit the visibility of your posts to certain friends without removing them from your friend list. However, relationships evolve, and there may come a time when you wish to lift these limitations and welcome someone back into your full digital life. Understanding how to unrestrict someone on Facebook is crucial for those moments, allowing you to seamlessly adjust your privacy settings as your social circles change. This guide aims to provide a clear, step-by-step approach to unrestricting someone on Facebook, ensuring you can maintain the perfect balance of privacy and openness in your online interactions.
Contents
Understanding Facebook Restrictions
Facebook’s restriction feature is a nuanced tool designed to help users manage their online interactions with more precision. At its core, restricting someone on Facebook changes how they can see your content, without the need to unfriend or block them completely. This section delves into the intricacies of Facebook restrictions, outlining what it means to restrict someone, the types of restrictions available, and common reasons users might find this feature particularly useful.
What Does Restricting Mean on Facebook?
When you restrict a user on Facebook, they’re still considered your friend and can see your profile, but their access to your content is limited. Specifically, they won’t see any of your posts unless they are made public or you tag the restricted user in the post. This includes both new posts and anything you’ve shared in the past that’s restricted to friends-only visibility. The restricted person will not be aware that they’ve been placed on your Restricted List, making this a discreet option for managing your social circles.
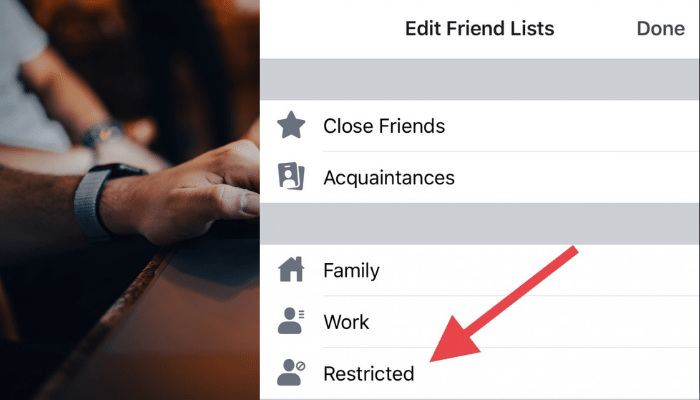
Types of Restrictions:
- Individual Restriction: You can restrict individual friends directly from their profiles or through your settings menu, effectively limiting what they can see on your timeline without unfriending them.
- Restricted List: Facebook also features a Restricted List, a specific list where any friend you add automatically has restricted access to your posts. This is particularly useful for quickly managing the visibility of your content to multiple people without adjusting each friend’s status individually.
Reasons for Restricting Someone: The reasons for wanting to restrict someone on Facebook are varied but often revolve around the desire for privacy and control over one’s social media environment. Common motivations include:
- Professional Boundaries: Keeping work colleagues or business contacts from viewing personal or less professionally relevant posts.
- Personal Privacy: Limiting exposure to acquaintances, distant relatives, or others you prefer not to share all your content with.
- Social Dynamics: Navigating complex social relationships, where unfriending might be too drastic or create offline tension, but some degree of online separation is desired.
Restricting someone on Facebook allows for a flexible approach to privacy, enabling users to maintain connections while controlling their personal boundaries online. Whether it’s for personal comfort, professional discretion, or navigating the nuances of social relationships, understanding and utilizing Facebook’s restriction features can enhance your social media experience.
How to Unrestrict Someone on Facebook
Navigating the intricacies of Facebook’s social settings includes knowing how to modify your privacy preferences as your relationships evolve. Unrestricting someone on Facebook is a straightforward process that allows you to once again share your posts and life updates with them as you would with any other friend. Whether you’ve had a change of heart or simply wish to open up your social circle, the steps to unrestrict someone vary slightly depending on whether you’re using Facebook on a desktop or through the mobile app. Here’s how you can do it on both platforms:
Via Desktop
- Access Privacy Settings
- Open Facebook on your preferred web browser.
- Click the downward arrow at the top right corner to open the menu.
- Select “Settings & Privacy” > “Settings.”
- Navigate to the Restricted List
- In the left-hand column, click on “Blocking.”
- Scroll down to find the “Restricted List” section. Click “Edit List.”
- Unrestrict a Friend
- In the pop-up window, you’ll see a list of people you’ve added to your Restricted List.
- Search for the person you want to unrestrict or scroll through the list.
- Click on their profile picture to select them, then click “Finish.”
By following these steps, the selected friend(s) will no longer be on your Restricted List and will again be able to see your posts that are shared with friends.
Via Mobile App
- Open the Facebook App:
- Launch the Facebook app on your mobile device.
- Access Your Settings:
- Tap on the three horizontal lines (menu button) usually found at the bottom right (iOS) or top right (Android) of the screen.
- Scroll down and select “Settings & Privacy,” then tap on “Settings.”
- Find the Restricted List:
- Under the “Privacy” section, tap on “Blocking.”
- You’ll see the “Restricted List” option; tap on it to view the list.
- Remove Someone from the Restricted List:
- Find the person you wish to unrestrict by scrolling through the list or using the search function.
- Tap “Unrestrict” next to their name to remove them from the list.
Unrestricting someone on Facebook via the mobile app or desktop allows you to quickly adjust your privacy settings and social interactions without significant hassle. This feature is particularly useful for those looking to reconcile, update their privacy preferences, or simply open up their social circles for a more inclusive Facebook experience.
Important Considerations
- Reversibility: Just as you can unrestrict someone, you can always choose to restrict them again if your relationship dynamics change.
- Notification: Facebook does not notify users when they are restricted or unrestricted, maintaining the privacy of your choices.
- Visibility of Past Posts: Unrestricting someone does not retroactively make all past friends-only posts visible to them. They will only see future posts that you share with friends.
By understanding how to manage your Restricted List, you’re taking an active role in shaping your Facebook experience to better suit your evolving social landscape. This flexibility ensures that your online interactions remain aligned with your current relationship dynamics and privacy preferences.
Troubleshooting Common Issues
When attempting to unrestrict someone on Facebook, users may occasionally encounter issues. Understanding how to troubleshoot these common problems can help ensure a smooth and successful adjustment of your privacy settings. Here are some tips for addressing frequent challenges:
- Can’t Find the Restricted List Option:
- Ensure you’re following the correct path in the settings menu. Facebook occasionally updates its interface, so if you’re having trouble, look for the most recent instructions or explore related privacy settings sections.
- Person Not Appearing on Restricted List:
- If the individual you’re looking to unrestrict doesn’t appear on your Restricted List, it’s possible they were removed previously or unfriended. Verify your current friend list to confirm their status.
- Changes Not Saving:
- Sometimes, changes made to your Restricted List might not save due to a slow internet connection or a glitch on Facebook’s end. Try refreshing the page, ensuring a stable connection, or attempting the change again after some time.
- Access Issues on Mobile Devices:
- If you’re having trouble accessing these settings on the mobile app, try clearing the app’s cache or accessing Facebook through a web browser on your mobile device instead. Alternatively, using a desktop computer might provide a more straightforward navigation experience.
Remember, if you continue to experience difficulties after trying these troubleshooting steps, Facebook’s Help Center offers detailed guides and can be a valuable resource for resolving more complex issues related to privacy settings and restrictions.
