
How to Make Money on Facebook?

 Fatih
Fatih
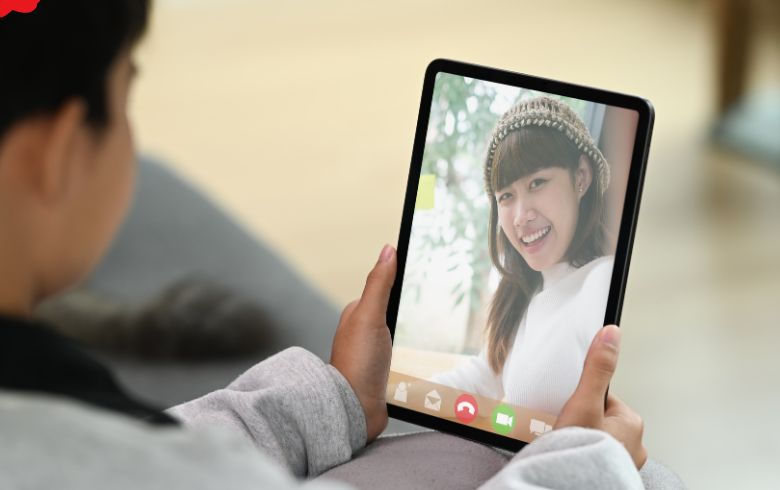
Whether you are preserving a sweet chat with long-distance family, capturing a creative brainstorming session, or recording a professional interview, video calling has become a core part of our digital lives. Knowing How to Record a FaceTime Call on iPhone allows you to save those meaningful moments directly to your device.
While the iOS ecosystem does not offer a dedicated, one-click button built directly into the calling screen, you can easily capture your calls using built-in system features or a connected computer.
Understanding How to Record a FaceTime Call on iPhone involves navigating both screen capture settings and Apple's built-in audio security features, ensuring you record smoothly without losing video or sound quality.
The fastest and most direct way to capture a call is using your iPhone’s native Screen Recording tool. This built-in feature records your entire display, making it ideal for on-the-go captures without extra equipment.
Open Settings on your iPhone.
Tap Control Center.
Scroll down to the More Controls section and tap the green Plus (+) button next to Screen Recording. This moves the tool into your active Control Center.
Launch your FaceTime app and start your call.
Swipe down from the top-right corner of your screen (or swipe up from the bottom on older iPhone models with a Home button) to open the Control Center.
Press and hold the Screen Recording icon (a solid white circle inside a ring).
Tap the Microphone icon at the bottom to turn it red (Microphone On). This step is essential if you want your own voice captured during the call.
Tap Start Recording. A three-second countdown will begin, and the clock or status bar at the top of your screen will highlight red to indicate recording is active.
When learning How to Record a FaceTime Call on iPhone via built-in screen capture, users frequently encounter a common issue: the recorded video has crisp visuals and captures your local microphone input, but the recipient's voice is completely silent.
This happens because Apple applies strict system-level privacy protections to direct communication streams. By default, iOS blocks the built-in screen recorder from tapping into system audio outputs during active calls to prevent unauthorized call recording.
Use Speaker Mode: Turn the caller volume up on your iPhone speaker and turn your local microphone on during Screen Recording. While this captures the other person's voice through your ambient room microphone, the audio quality may sound slightly echoey.
External Audio Recorders: Set up a secondary device (like a voice memo app on an iPad, laptop, or dedicated voice recorder) sitting nearby on speakerphone to capture clear external room audio while your screen records the visuals.
If you need professional-grade video and clear dual-sided audio for interviews or long-form recordings, connecting your iPhone to a Mac using QuickTime Player offers superior results.
Connect your iPhone to your Mac using a Lightning or USB-C cable.
Open QuickTime Player on your Mac.
Click File in the top menu bar and select New Movie Recording.
Next to the red record button, click the small downward arrow (v) to open the input dropdown menu.
Under Camera, select your iPhone. Your Mac screen will now mirror your iPhone display in real-time.
Under Microphone, select your preferred audio source (either your Mac microphone or an external USB microphone).
Initiate your FaceTime call on your iPhone.
Click the red Record button in QuickTime on your Mac to start capturing the mirrored stream.
| Recording Method | Audio Quality | Visual Quality | Setup Complexity | Best Used For |
| iOS Screen Recording | Basic (requires ambient mic capture) | HD (Full Phone Resolution) | Very Easy | Quick casual chats & personal clips |
| Mac QuickTime Mirroring | High (captures clean inputs) | HD (Uncompressed Mirror) | Intermediate | Professional interviews & tutorials |
| External Secondary Camera | Environmental | Depends on secondary device | Easy | Quick physical proof or backups |
Before tapping record, it is crucial to consider communication privacy laws. Depending on where you and the other participant live, recording a conversation without consent can carry legal consequences.
Jurisdictions generally fall into two categories:
One-Party Consent: Only one person in the conversation (which can be you) needs to know the call is being recorded.
Two-Party (All-Party) Consent: Every participant on the call must explicitly agree to be recorded before you start capturing audio or video.
"Always inform the other party that you plan to record the FaceTime conversation before starting the call. Getting explicit verbal consent on tape protects privacy and ensures ethical recording practices."
When mastering How to Record a FaceTime Call on iPhone, avoiding a few frequent setup errors will save you from losing valuable footage:
Low Storage Space: Video files recorded at full HD resolution consume storage rapidly. Check Settings > General > iPhone Storage before starting a long call to avoid running out of space mid-recording.
Interrupted Recordings from Notifications: Incoming phone calls or app notifications can interrupt screen recording sessions. Toggle on Do Not Disturb or focus modes before starting your conversation.
Battery Drain: Video calls combined with active screen encoding consume heavy battery life. Plug your iPhone into a charger during extended calls.
Learning How to Record a FaceTime Call on iPhone gives you a reliable way to save important digital conversations, record creative interviews, or preserve family memories. Whether you choose the quick convenience of native iOS screen recording or the high-fidelity audio options available through Mac mirroring, selecting the right tool for your specific setup ensures smooth playback every time you rewatch your recorded files.
Our most popular services on social media

Special 5% discount awaits new members!
BoostGrams was founded in 2015 with the rise of social media.
Special 5% discount awaits new members!
BoostGrams was founded in 2015 with the rise of social media.
Special 5% discount awaits new members!
BoostGrams was founded in 2015 with the rise of social media.

Enter your order code!

If you experience delivery issues with your guaranteed orders, you can quickly request a replacement.


A single post can touch thousands of hearts.
Log in to your account now and start enjoying the benefits.
Not a member? Sign Up