
How to Make Money on Facebook?

 Fatih
Fatih
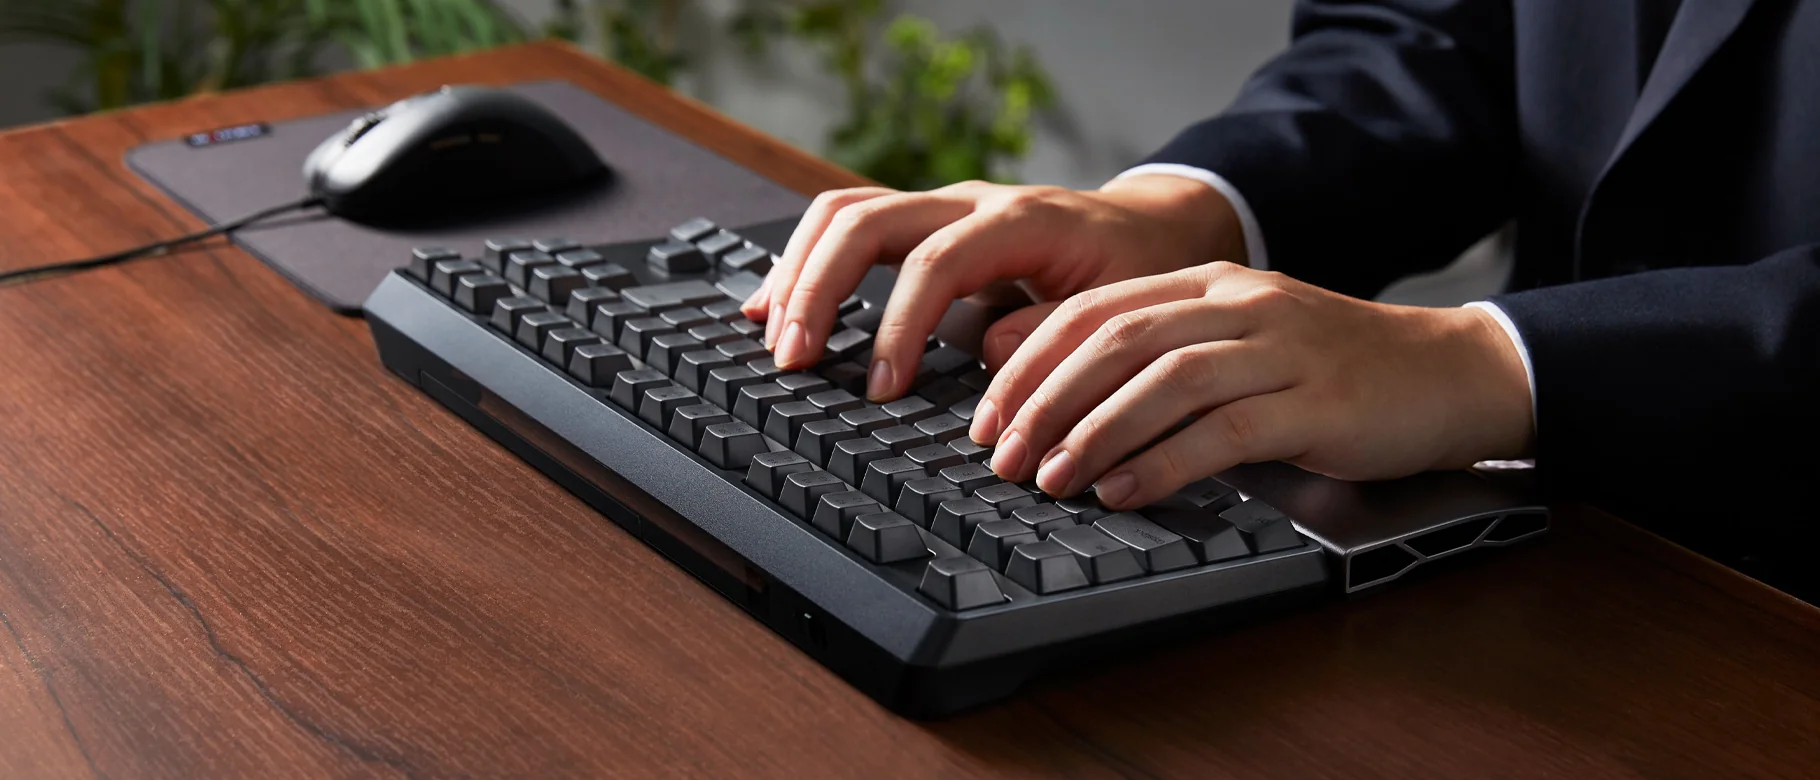
Few desktop peripherals match the tactile satisfaction of a well-crafted mechanical keyboard. Whether you prefer the crisp click of a blue stem, the soft bump of a brown switch, or the fluid stroke of a linear red, typing on mechanical switches is an absolute joy. However, as the months roll by, micro-debris, dust, pet hair, and the occasional spilled drink can transform your once-pristine setup into a sticky, unresponsive mess.
Learning How to Clean Your Mechanical Keyboard Switches is an essential maintenance skill that restores your board's smooth keystrokes, protects its internal circuitry, and prevents annoying double-typing issues.
Whether you are dealing with minor surface dust, erratic key chatter, or a sticky soda spill, taking a structured approach to switch care will keep your typing experience feeling fresh out of the box.
Before grabbing your tools, assess the level of cleaning your switches actually need. The process for routine dust maintenance is vastly different from rescuing a board from a sticky coffee or soda spill.
Understanding How to Clean Your Mechanical Keyboard Switches requires tailoring your approach to the severity of the grime:
Routine Maintenance: Clearing away loose dust, hair, and breadcrumbs from around the switch housings.
Surface Cleaning: Removing light oil buildup and grime directly off the switch stems and upper housings.
Contact Rehabilitation: Fixing unresponsive key registers or double-clicking caused by dirty internal copper leaves.
Liquid Rescue: Deep cleaning or replacing switches that have suffered liquid intrusion from sugary drinks.
Having the proper tools prevents accidental damage to your keycaps, switch housings, and PCB (Printed Circuit Board).
Keycap Puller: A wire keycap puller is preferred over plastic ring pullers, as wire tools will not scratch the sides of your keycaps.
Switch Puller: Essential if your keyboard features hot-swappable sockets.
Compressed Air Can: For blasting loose dust out of switch housings.
90%+ Isopropyl Alcohol (IPA): High-purity alcohol evaporates rapidly without leaving water residue behind, making it safe for electronics.
Precision Cotton Swabs or Micro-Brushes: Ideal for wiping down tight gaps and lubricated stems.
Lube Station / Switch Opener: Helpful if you plan to disassemble individual switches completely.
Always start with the least invasive method. If your switches simply feel a bit gritty on the downstroke, loose dust sitting around the top housing is usually the primary culprit.
First, unplug your keyboard from your computer. If you have a wireless model, turn off the power switch completely.
Use your wire puller to carefully remove the keycaps from the affected area. Angle the puller under opposite corners of the keycap and pull straight up with gentle, steady pressure to avoid bending the switch stem.
Once the keycaps are off, hold your compressed air can completely upright. Spray short, controlled bursts around the switch stems and inside the upper housing gaps. Angle the air stream so debris is blown away from the switch rather than forced deeper into the internal spring housing.
When a switch registers a double-press (key chatter) or feels physically sticky when pressed, surface dusting will not solve the issue. You need to clean the internal copper contact leaves or remove dried residue.
This method works exceptionally well for non-hot-swappable boards where desoldering switches is not an immediate option.
Unplug the keyboard completely.
Depress the switch stem all the way down to open up the internal chamber.
Apply 1 to 2 small drops of 99% Isopropyl Alcohol directly down the side of the depressed stem using a precision dropper or a thoroughly soaked cotton swab.
Press the switch rapidly 30 to 40 times to work the alcohol across the internal slider tracks and copper leaves.
Let the keyboard sit untouched for at least 30 to 45 minutes to ensure the high-purity alcohol evaporates completely before plugging it back in.
If your board features a hot-swap PCB, mastering How to Clean Your Mechanical Keyboard Switches becomes much easier because you can remove the switches entirely without a soldering iron.
Use your switch puller to grip the top and bottom securing tabs of the switch housing. Pull straight upward with firm, perpendicular pressure to avoid bending the metal pins underneath.
Once the switch is out, use a switch opener to pop open the four corner latches. Separate the switch into its four core components: top housing, bottom housing, stem, and spring.
| Switch Component | Cleaning Method | Key Caution |
| Top Housing | Wipe with IPA swab or warm soapy water | Ensure 100% dry before reassembly |
| Bottom Housing | Gently wipe with IPA swab | Avoid bending the internal copper leaf |
| Stem | Clean off old gunk and lube with IPA | Re-lube lightly after cleaning |
| Spring | Wipe down or ultrasonic clean | Keep away from moisture to prevent rust |
"Never submerge an assembled switch in water. Water trapped inside the bottom housing will corrode the delicate copper contact leaves, permanently damaging the switch."
If you accidentally spilled a sugary beverage over your desk, standard spot cleaning will not save the switches. Sugary liquids dry into a thick, tacky film that stops the internal spring from pushing the stem back up.
If your board is hot-swappable, pop out all affected switches immediately. Disassemble the housings completely and soak the plastic parts (housings and stems only—not the metal springs or copper leaves) in warm, distilled water mixed with a drop of dish soap. Wash away all sticky residue, rinse thoroughly with clean distilled water, and let them air dry for at least 24 to 48 hours.
For soldered boards where switches cannot be easily removed, you may need to desolder the ruined switches and replace them with fresh ones. Trying to flush an entire soldered keyboard with water risks permanently shorting out the PCB traces.
Cleaning switches with Isopropyl Alcohol or soapy water strips away all factory or custom lubricants. Operating a completely dry switch results in a scratchy feeling and noisy spring ping.
After your switch components are completely dry, apply a thin coat of synthetic lubricant (such as Krytox 205g0 for linears/tactiles or Tribosys 3203) using a fine detail paintbrush:
Apply a paper-thin layer along the side rails of the stem.
Lightly brush the slider tracks inside the bottom housing.
Bag-lube or hand-coat the ends of the springs with high-viscosity oil or grease to eliminate pinging noises.
Reassemble the switch housing by snapping the top plate back over the bottom tabs until you hear a crisp click.
Now that you understand How to Clean Your Mechanical Keyboard Switches, keeping a few preventive habits in mind will extend the time between deep cleaning sessions:
Use a Keyboard Dust Cover: Place an acrylic or fabric cover over your board when you step away from your desk for the day.
Keep Snacks at Bay: Avoid eating crumbly foods directly over your keycaps.
Clean Keycaps Separately: Wash your plastic keycaps in warm, soapy water every few months to remove natural finger oils before they migrate down into the switch stems.
Regular maintenance protects your investment, keeps your keystrokes crisp, and ensures your mechanical keyboard continues to deliver that smooth, satisfying typing experience for millions of presses to come.
Our most popular services on social media

Special 5% discount awaits new members!
BoostGrams was founded in 2015 with the rise of social media.
Special 5% discount awaits new members!
BoostGrams was founded in 2015 with the rise of social media.
Special 5% discount awaits new members!
BoostGrams was founded in 2015 with the rise of social media.

Enter your order code!

If you experience delivery issues with your guaranteed orders, you can quickly request a replacement.


A single post can touch thousands of hearts.
Log in to your account now and start enjoying the benefits.
Not a member? Sign Up