
How to Make Money on Facebook?

 Fatih
Fatih
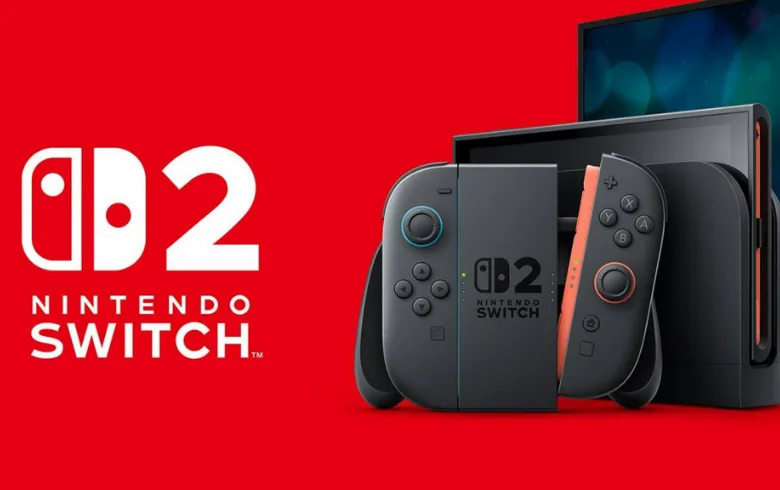
Few things ruin a gaming session faster than an uncooperative analog stick. You are carefully lining up a shot or attempting a precise platforming jump, only for your character to slowly drift off a cliff entirely on their own. While stick drift is most famously associated with Joy-Cons, the Nintendo Switch Pro Controller is not immune. Over time, physical wear, fine dust, and internal debris can cause its analog sticks to send phantom movement signals to your console.
Before you toss your hardware aside or drop hard-earned money on a brand-new gamepad, there are several troubleshooting steps you can take. Understanding How to Fix Stick Drift on Nintendo Switch Pro Controller involves a progression of solutions, ranging from simple menu calibrations to deep physical cleanings.
Always start with the non-invasive fixes. Software glitches or misaligned sensor baseline readings can mimic physical stick drift even when the underlying hardware is perfectly fine.
Corrupted controller data can occasionally cause unresponsive or drifting inputs. Ensuring your hardware runs the latest firmware eliminates basic software bugs.
Navigate to System Settings from your Switch home screen.
Scroll down to Controllers and Sensors.
Select Update Controllers while your Pro Controller is connected wirelessly or via a USB cable.
Go back to the main settings menu, select System, and run a System Update to ensure your console software is completely current.
Recalibrating the sticks resets the default deadzone—the central area where the controller registers zero movement.
Go to System Settings > Controllers and Sensors.
Select Calibrate Control Sticks.
Tilt and hold the affected analog stick inward until the calibration screen pops up.
Examine the center dot. If it fluctuates or sits outside the center crosshair while you are not touching it, press the X button to initiate calibration.
Follow the on-screen prompts by rotating the stick in full circles and pushing it firmly in four cardinal directions.
If software calibration fails to center your inputs, the culprit is likely micro-debris. Dust, skin oils, and tiny plastic shavings generated by the thumbstick rubbing against the outer ring can fall into the module housing.
A simple blast of dry air can dislodge loose dust sitting near the potentiometer housing.
Tilt the drifting analog stick all the way to one side to expose the sphere underneath the thumb cap.
Using a can of compressed air held completely upright, blow short bursts into the gap surrounding the stick base.
Rotate the stick full circle a few times and repeat the process from different angles.
For stubborn grime or oxidized contact pads, specialized contact cleaner (such as BW-100 or QD Electronic Cleaner) works wonders. Do not use standard WD-40, as its oil-based lubricant will permanently ruin internal circuits.
Turn off your Nintendo Switch and ensure the controller is powered down.
Tilt the analog stick to expose the ball joint beneath the plastic cap.
Apply a brief, targeted spray of quick-drying electrical contact cleaner into the internal housing.
Swirl the stick in continuous circles for 30 seconds to work the cleaner into the potentiometer tracks.
Allow the controller to sit in a well-ventilated area for 10 to 15 minutes to let the fluid evaporate completely before turning it back on.
When surface treatments fail, thorough internal cleaning requires opening the shell. Learning How to Fix Stick Drift on Nintendo Switch Pro Controller at a deeper level requires basic patience and a small Phillips head screwdriver (#0 or #00 size).
Remove the Grips: Unscrew the two long Phillips screws located at the bottom tip of each hand grip, then slide the plastic handles downward.
Remove the Backplate: Undo the four visible screws on the rear casing and gently lift the back plate off.
Disconnect the Battery: Lift out the rectangular lithium-ion battery.
Separate the Main Housing: Remove the four internal housing screws, carefully disconnect the ribbon cables connecting the lower housing to the main board, and lift the inner assembly free.
Pop Off Thumb Caps: Pull the plastic thumbstick caps straight up off the metal module stems.
Once the main board is exposed, you will see two green or white plastic potentiometer boxes mounted to the sides of each joystick module.
Use a fine plastic pry tool or tweezers to gently snap open the top latch of the green potentiometer door, folding it outward away from the metal frame.
Inside, you will find a small, removable white plastic wiper wheel containing tiny metal contacts.
Inspect the circular black resistive track printed inside the housing for carbon dust or foreign debris.
Dip a cotton swab in 90%+ Isopropyl Alcohol (IPA) and gently wipe clean the resistive track and the metal contacts on the wiper wheel.
Snap the potentiometer housing firmly back into place, reattach your thumbstick cap, and reassemble the shell.
| Fix Method | Difficulty Level | Tools Needed | Success Rate for Debris Drift |
| System Recalibration | Easy (1/5) | Nintendo Switch Console | Low to Moderate |
| External Air & Cleaner | Easy (2/5) | Compressed Air, Contact Cleaner | Moderate |
| Internal Deep Cleaning | Intermediate (3/5) | Phillips Screwdriver, IPA, Swabs | High |
| Joystick Replacement | Advanced (4/5) | Soldering Iron, Replacement Parts | Permanent Fix |
Standard analog joysticks rely on physical metal wipers dragging across carbon resistive tracks. Over years of intensive gaming, those physical tracks naturally wear away, making drift inevitable regardless of how clean the board is.
If cleaning fails to fix the issue permanently, replacing the joystick module entirely is the ultimate solution.
"Standard potentiometers rely on physical friction that eventually degrades over time. Modern Hall Effect modules use magnetic sensors instead of touching contacts, making them virtually immune to physical stick drift."
Replacing a Pro Controller stick requires desoldering the 14 anchor points attaching the original module to the main circuit board and soldering in a replacement. If you have soldering skills, consider installing Hall Effect joysticks. Because Hall Effect sensors track stick placement using magnetic fields rather than physical contact, they do not suffer from mechanical wear, eliminating stick drift for the rest of the controller's lifespan.
Once your controller is responding smoothly again, practicing good hardware maintenance keeps drift from coming back:
Store in a Protective Case: Dust is the primary enemy of precision electronics. Store your gamepad in a closed case when not in use.
Keep Hands Clean: Avoid eating snacks while gaming, as oils and crumbs easily slide beneath the thumb caps.
Avoid Excessive Force: Pressing down excessively hard on the thumbsticks during intense action sequences accelerates physical wear on the internal springs and wiper pads.
By starting with quick software recalibrations and progressing through targeted cleanings, learning How to Fix Stick Drift on Nintendo Switch Pro Controller empowers you to restore your favorite controller to peak performance without spending unnecessary cash.
Our most popular services on social media

Special 5% discount awaits new members!
BoostGrams was founded in 2015 with the rise of social media.
Special 5% discount awaits new members!
BoostGrams was founded in 2015 with the rise of social media.
Special 5% discount awaits new members!
BoostGrams was founded in 2015 with the rise of social media.

Enter your order code!

If you experience delivery issues with your guaranteed orders, you can quickly request a replacement.


A single post can touch thousands of hearts.
Log in to your account now and start enjoying the benefits.
Not a member? Sign Up